
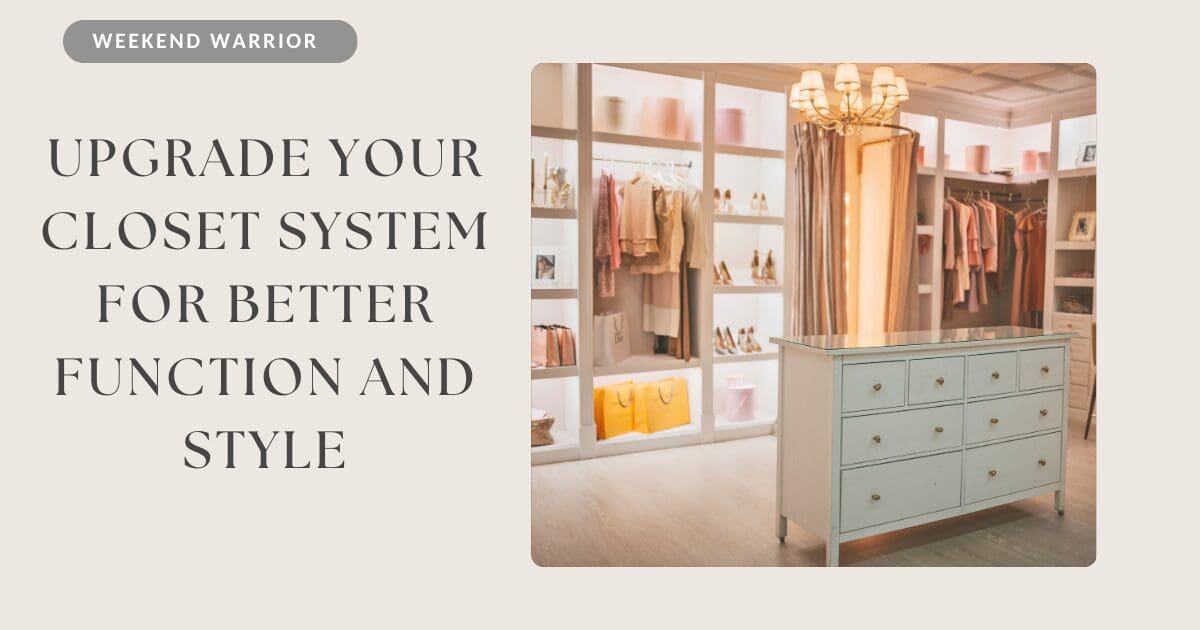
A well-designed closet can completely change how your day starts and ends. If you’re tired of clutter, wasted space, or struggling to find what you need, a weekend closet upgrade is one of the most impactful (and satisfying) home projects you can tackle. With a little planning and the right system, you can create a space that feels organized, elevated, and tailored to your lifestyle.
Step 1: Empty, Edit, and Measure
Start by removing everything from your closet. Yes, everything. This gives you a clean slate and the opportunity to declutter. Sort items into keep, donate, and discard piles.
Once empty, take precise measurements of your space, including ceiling height, wall width, and depth. Don’t forget to note obstructions like doors, windows, or vents. These dimensions will guide your design and ensure you purchase the right materials.
Step 2: Design with Your Lifestyle in Mind
Before buying anything, think about how you actually use your closet. Do you have more hanging clothes or folded items? Do you need space for shoes, handbags, or accessories?
A balanced closet system typically includes:
-
Double hanging rods for shirts and pants
-
Single long-hang sections for dresses and coats
-
Adjustable shelves for flexibility
-
Drawers for smaller items
-
Dedicated shoe storage
Tip: Prioritize visibility and accessibility. If you can’t see it, you likely won’t use it. Open shelving and clear bins can make a huge difference.
Step 3: Choose the Right System
There are several options depending on your budget and skill level:
-
Wire systems: Affordable and easy to install
-
Laminate or wood systems: More polished and customizable
-
Modular kits: A great middle ground with flexibility
Many home improvement stores offer pre-designed kits that can be adjusted to fit your measurements, making this a very manageable DIY project.
Step 4: Installation Process
Most closet systems can be installed in a day or two with basic tools. Here’s a simple order to follow:
-
Patch and paint your walls (this is much easier before installation)
-
Locate and mark wall studs
-
Install the main support rail or vertical panels
-
Add hanging rods, shelves, and drawers
-
Secure everything and double-check for level alignment
Tip: Take your time during installation. Level shelves and properly anchored supports are key to a long-lasting system.
Step 5: Organize and Style
Once your system is installed, it’s time to put everything back in an intentional way. Group similar items together and arrange by color or category for a clean, boutique-like feel.
Add finishing touches like:
-
Matching hangers for a cohesive look
-
Drawer dividers for accessories
-
Baskets or bins for seasonal storage
-
Soft lighting or LED strips to brighten the space