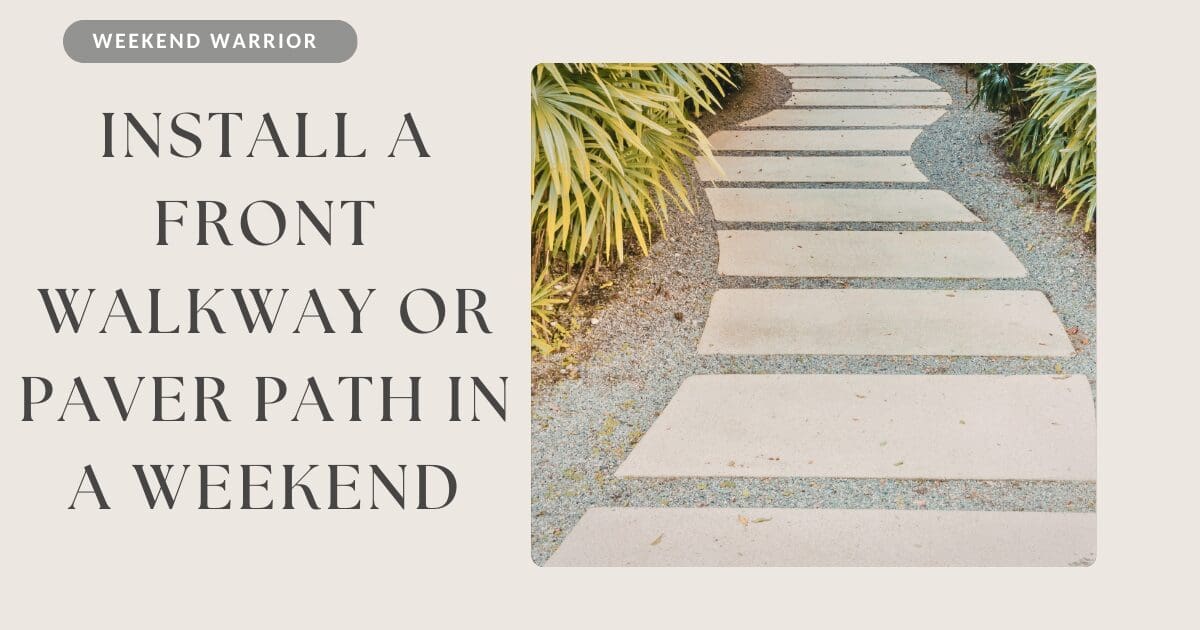
A well-designed front walkway instantly elevates your home’s curb appeal while creating a welcoming path to your front door. The best part? This is a project most homeowners can complete in a single weekend with the right prep, materials, and a little elbow grease.
What You’ll Need
Pavers, brick, or natural stone
Gravel (base layer)
Sand (leveling layer)
Landscape fabric
Edging (plastic, metal, or stone)
Shovel, rake, tamper (or plate compactor)
Level, measuring tape, string line
Rubber mallet and broom
Step 1: Plan Your Path
Start by mapping out your walkway. Decide whether you want a straight path or something more curved and organic. Use stakes and string or even spray paint to outline the shape. Standard walkways are typically 36–48 inches wide to allow comfortable foot traffic.
Pro Tip: Think about how guests naturally approach your home and design the path to feel intuitive, not forced.
Step 2: Excavate the Area
Remove grass and soil to a depth of about 6–8 inches. This allows room for your base layers and pavers while keeping the finished path level with surrounding ground.
Make sure the area slopes slightly (about 1/4 inch per foot) away from your home to ensure proper drainage.
Step 3: Build a Solid Base
Lay down landscape fabric to prevent weeds, then add 3–4 inches of gravel. Spread it evenly and compact it thoroughly using a tamper or plate compactor. A strong base is key, this is what prevents shifting and sinking over time.
Step 4: Add and Level Sand
Pour about 1 inch of sand over the compacted gravel. Use a straight board (screed) to level the surface. This layer allows you to fine-tune the placement of your pavers.
Step 5: Lay the Pavers
Start at one end and work your way forward, placing pavers snugly together. Use a rubber mallet to tap each piece into place and keep them level.
Check your work frequently with a level and maintain consistent spacing. Popular patterns include running bond, herringbone, or simple grid layouts.
Step 6: Secure the Edges
Install edging along both sides of the walkway to keep everything in place. This step is often overlooked but makes a big difference in long-term durability.
Step 7: Fill Joints and Finish
Spread sand over the pavers and sweep it into the joints. Lightly mist the walkway with water to help the sand settle. Repeat if needed until joints are filled.
Tips for Best Results
Work in sections to stay organized and efficient
Rent a plate compactor for a more professional finish
Choose pavers that complement your home’s exterior (brick for traditional, large slabs for modern)
Consider adding solar path lights or bordering plants for extra impact