
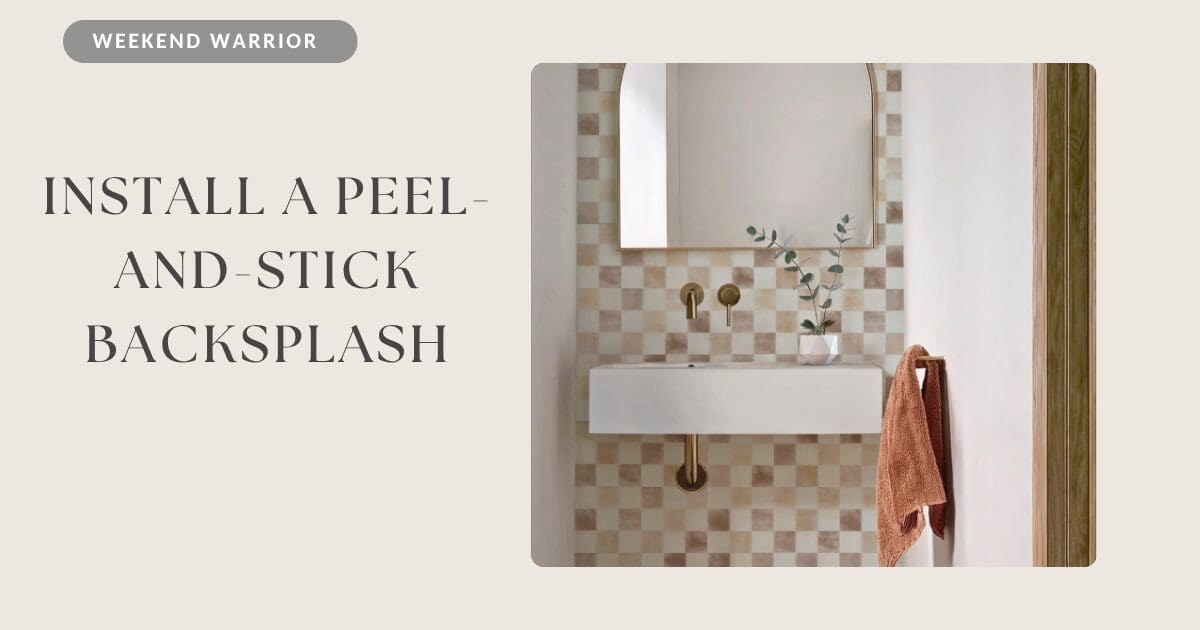
 Want to give your kitchen or bathroom a fresh look without committing to a full renovation? A peel-and-stick backsplash is one of the easiest ways to create a noticeable update in just a few hours. With no mortar, grout or tile saw required, it’s a great project for homeowners looking for a quick, budget-friendly refresh.
What You’ll Need
- peel-and-stick tile
- measuring tape
- level
- pencil
- utility knife or scissors
- cutting mat
- straightedge
- cleaning solution
- microfiber cloth
- outlet screwdriver
Step 1: Clean and Prep the Wall
Good adhesion starts with a clean surface. Remove grease, dust and residue from the backsplash area and allow the wall to dry completely.
Peel-and-stick tile works best on smooth, painted drywall or an existing smooth backsplash. Repair holes or uneven areas before beginning.
Step 2: Measure and Plan Your Layout
Measure the height and width of the backsplash and order approximately 10% extra material for cuts and mistakes.
Before peeling anything, position several pieces against the wall to determine your starting point. Use a level to draw a light guideline. Pay special attention to corners and outlets so you don’t end up with awkwardly narrow pieces.
Step 3: Start Installing
Begin along a straight edge, usually the countertop, and work outward.
Peel away a small portion of the backing, position the tile along your guideline and press it into place. Once you’re satisfied with the placement, remove the remaining backing and firmly smooth the tile against the wall.
Continue across the backsplash, carefully matching seams or patterns.
Step 4: Make Your Cuts
Measure around outlets, cabinets and corners before cutting. Mark the back of each tile and use a sharp utility knife and straightedge for clean cuts.
For outlets, turn off the power before removing the cover plates. Cut the tile so the opening sits beneath the plate rather than trying to create a perfectly finished edge.
Step 5: Press and Finish
Once the entire backsplash is installed, firmly press over every tile, particularly around seams and edges. Reinstall outlet covers, clean the surface and you’re done.
Trending Backsplash Looks for 2026
Current kitchen design is moving toward warmer, more character-filled surfaces. Handmade and zellige-inspired tile continues to be a major look, thanks to its irregular texture and subtle color variation. Warm neutrals such as cream, oat, taupe and soft beige are replacing colder gray palettes.
Zellige look: Choose peel-and-stick tiles that mimic glossy, slightly imperfect handmade ceramic.
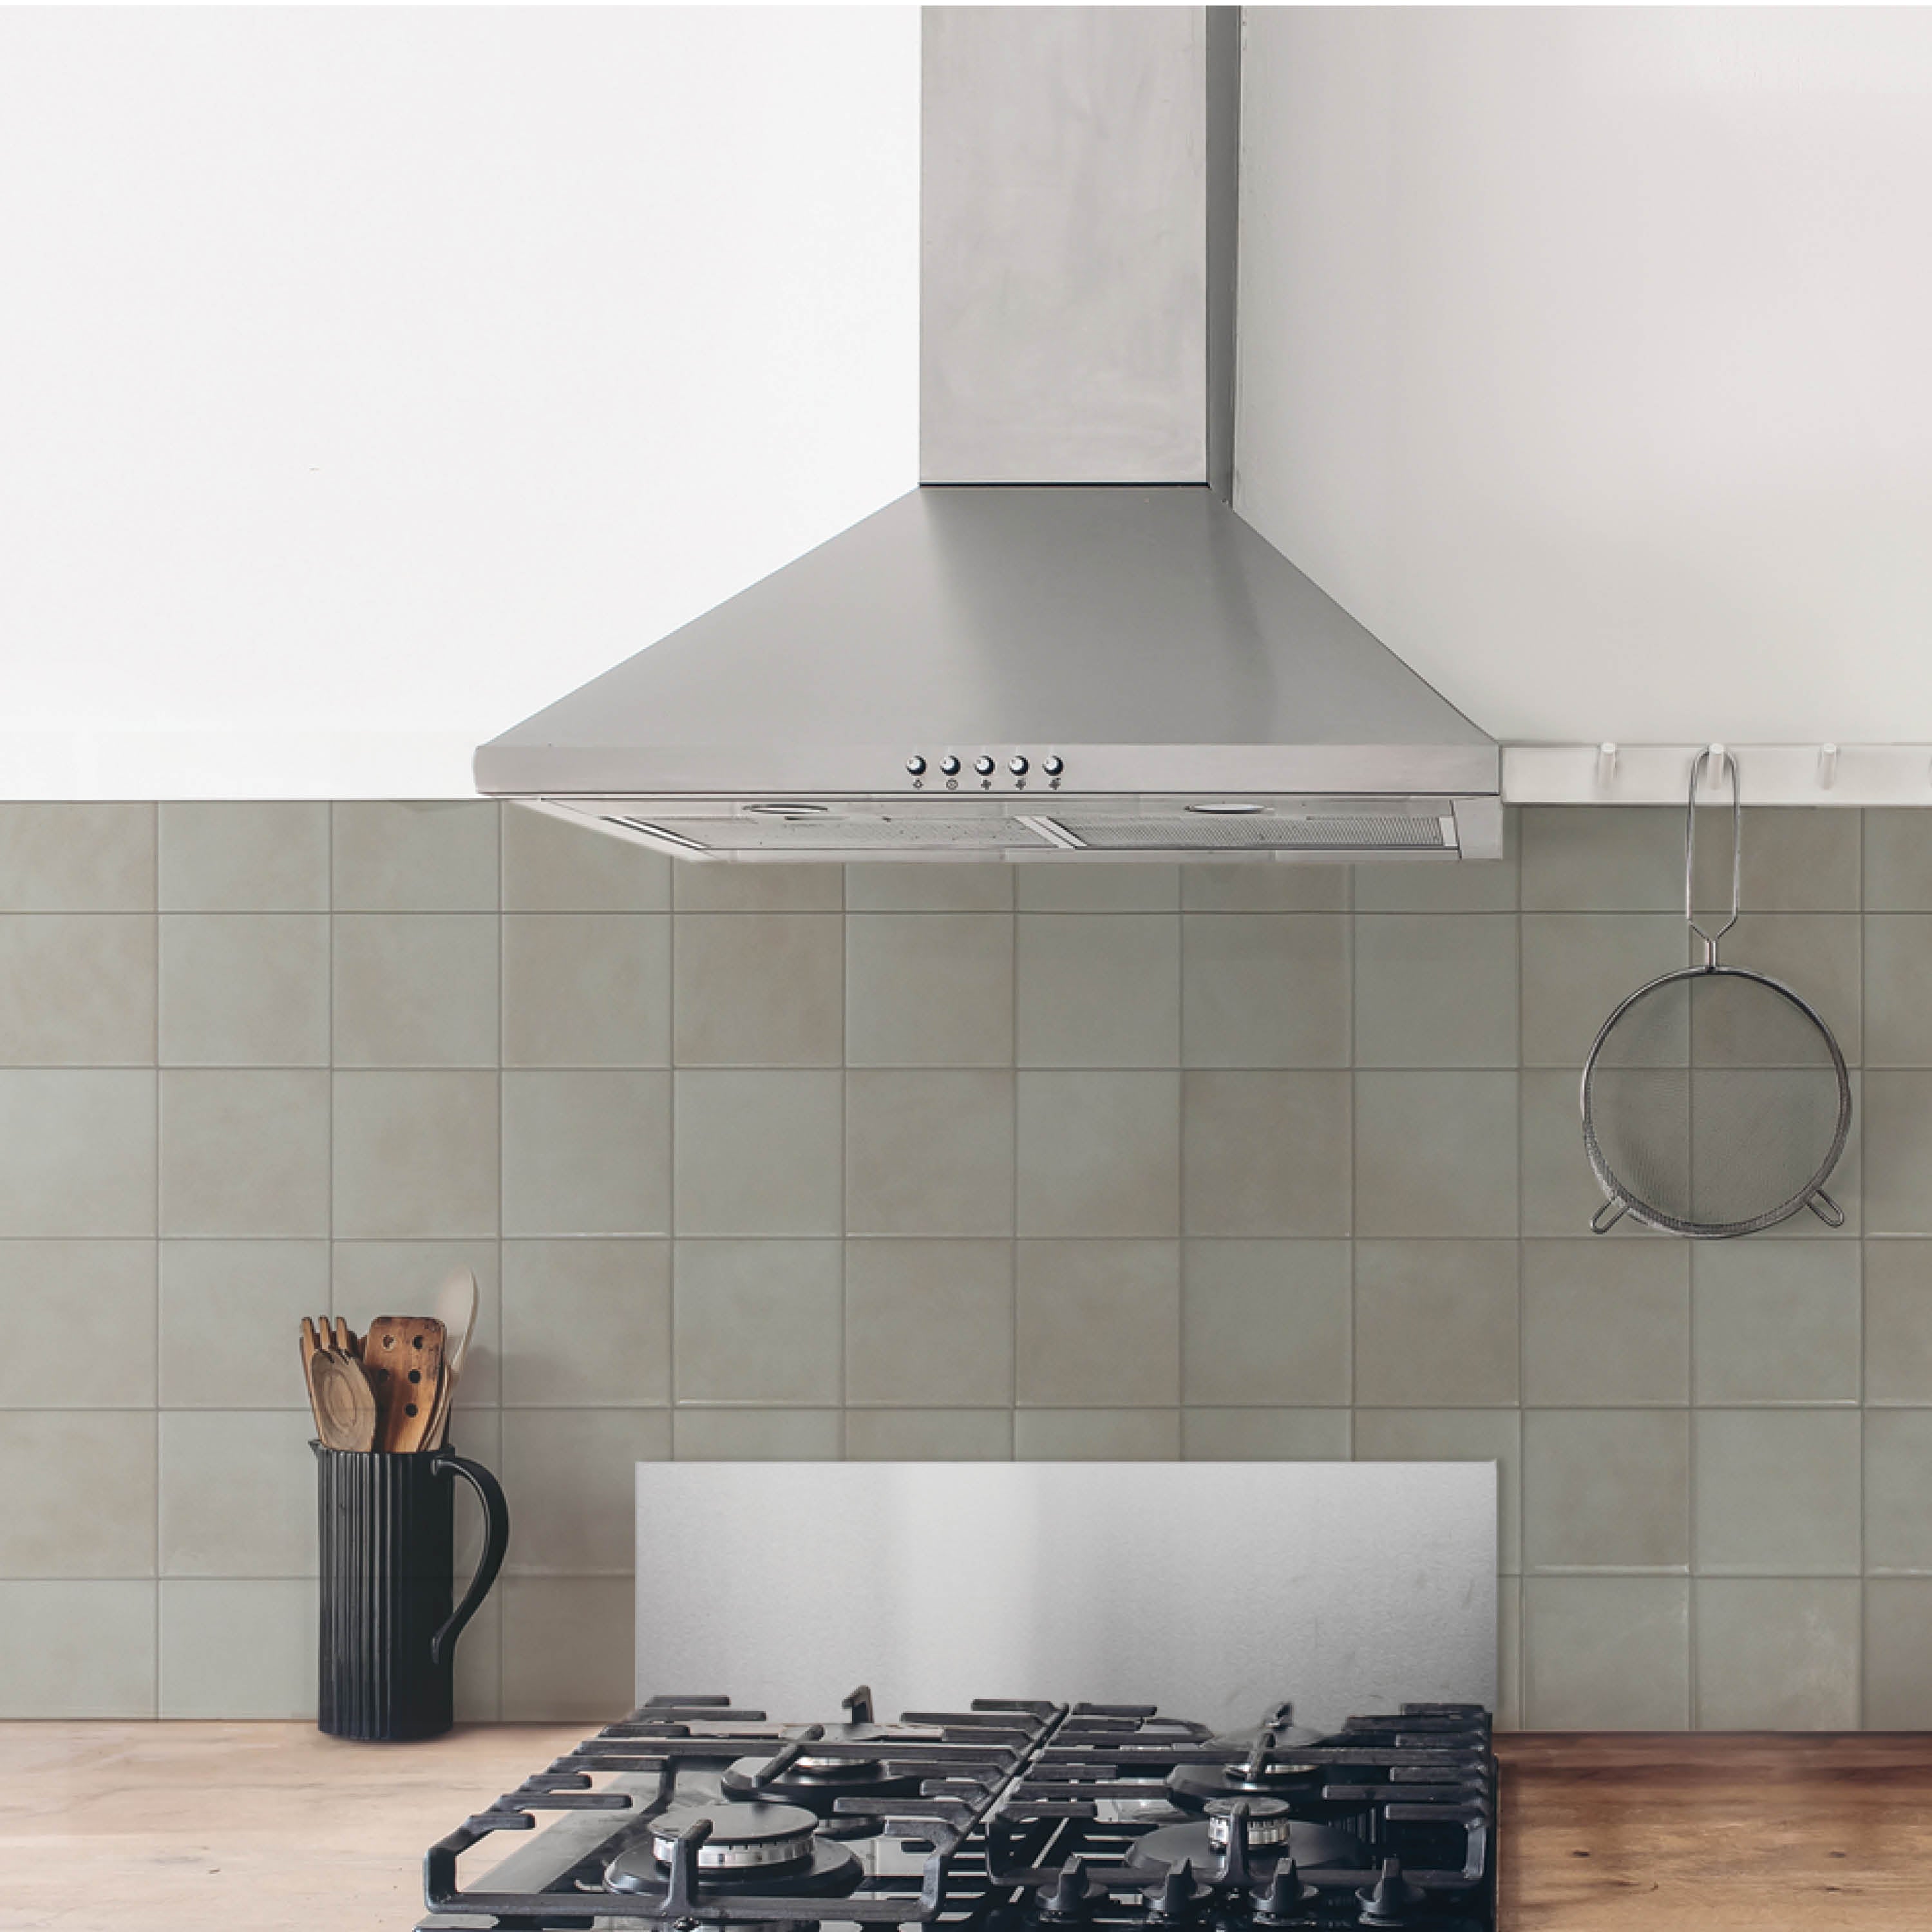
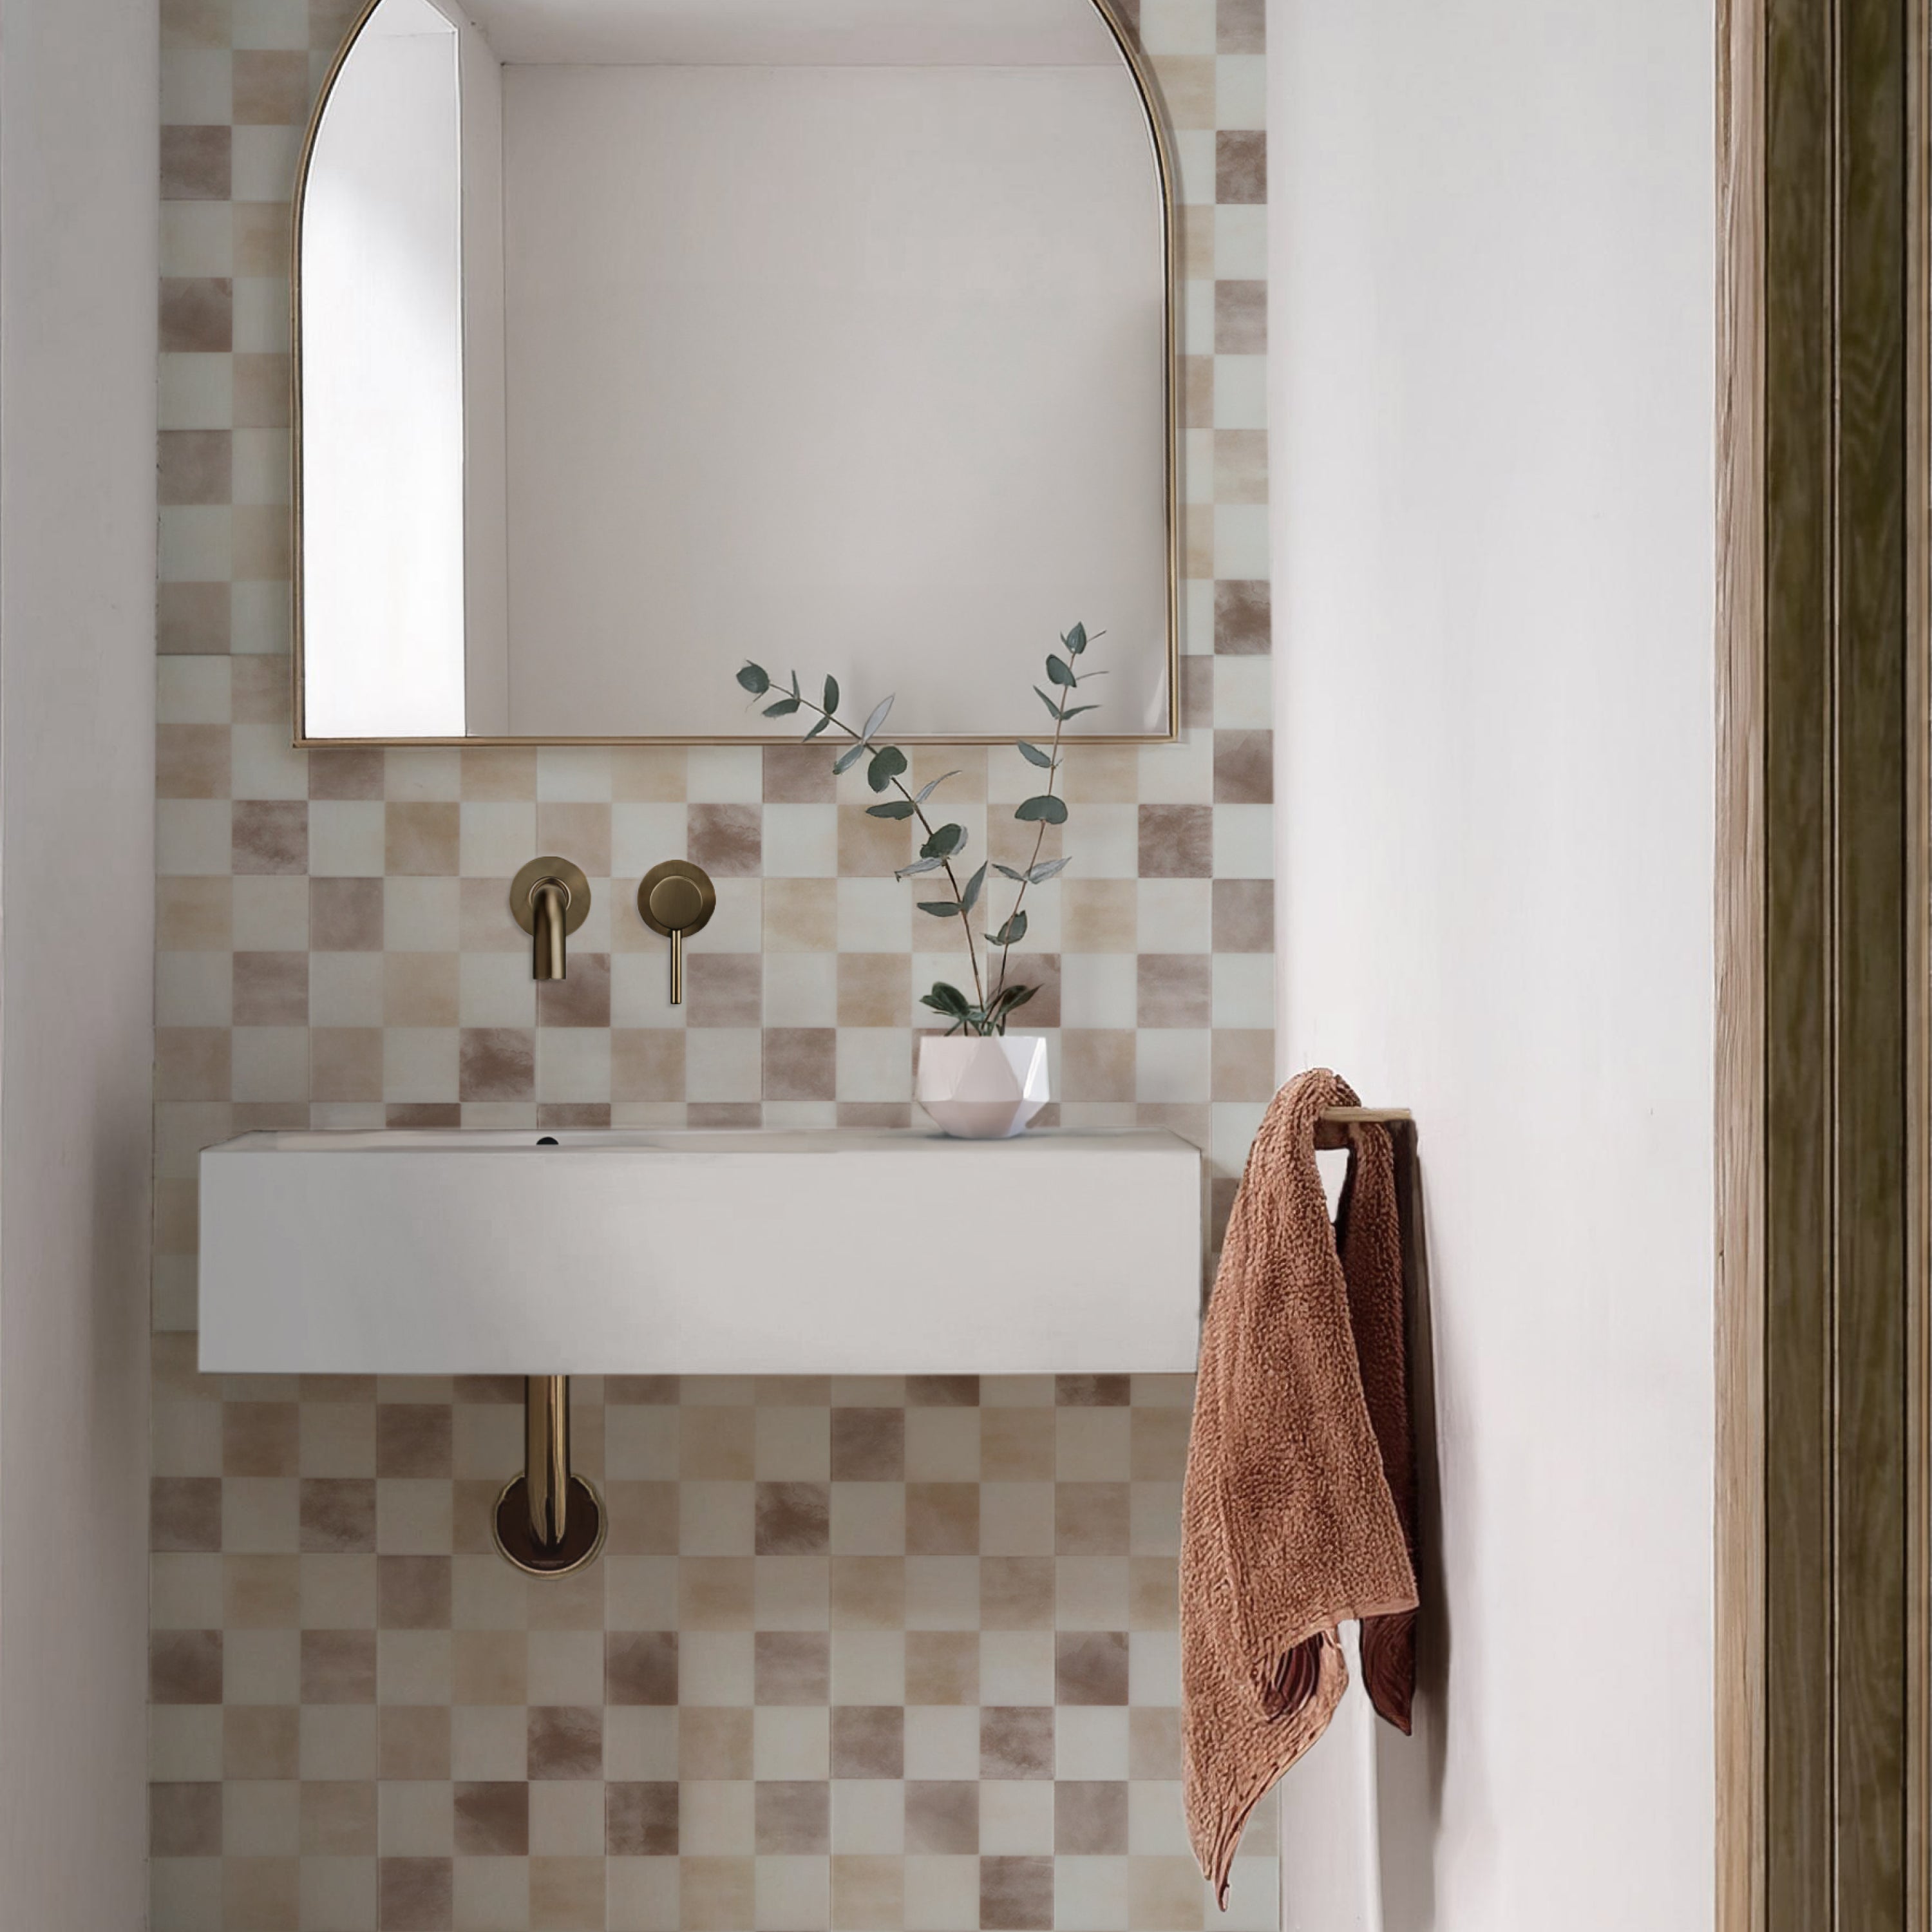
Checkerboard: Small-scale checks in cream and taupe, blue and ivory, or muted green create a playful but sophisticated backsplash. Checkerboard is seeing a renewed design moment in 2026.
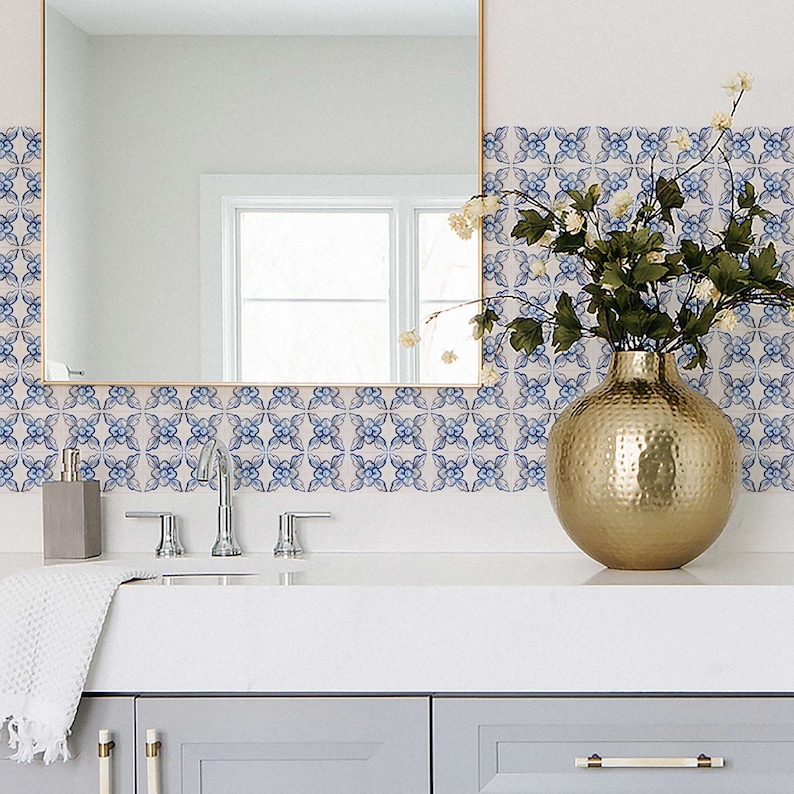
Vintage-inspired: Delft, Portuguese and hand-painted-look patterns add personality and work especially well in smaller kitchens.
Warm stone: Marble, travertine and stone-look peel-and-stick panels offer the appearance of today’s popular slab backsplashes without the cost or installation difficulty.
Tips for an Easier Installation
Don’t rush the prep—the cleaner and smoother the wall, the better the result. Work slowly around the first few tiles because they establish the alignment for everything that follows. Use a brand-new utility blade for crisp cuts, and don’t remove the entire backing until you’re sure the piece is positioned correctly.
One final tip: avoid installing peel-and-stick products directly behind a range unless the manufacturer specifically rates the product for that location and temperature. A quick project is only worthwhile if it holds up long after the weekend is over.