
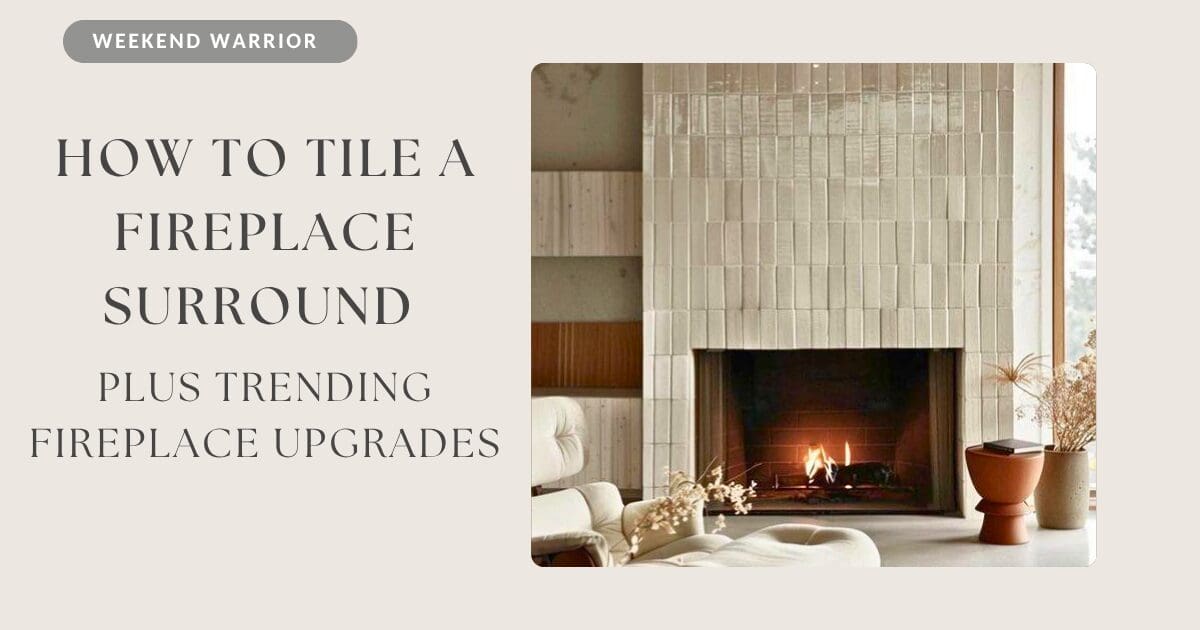
Retiling a fireplace surround is one of those relatively small upgrades that can completely change the look of a room. And, with some planning, it’s a project an experienced DIYer can tackle in a weekend.
Before You Start
First, make sure your fireplace is completely cool and the existing surround is suitable for tile. Remove old tile, loose mortar and debris. If you’re working over brick, knock down high spots and fill low areas to create a smooth, flat surface. Damaged drywall should be replaced with an appropriate cement backer board.
Most importantly, choose tile, mortar and grout rated for the temperatures and application around your fireplace. Never use premixed tile mastic near the firebox; heat can cause it to soften.
You’ll typically need tile, thinset mortar, grout, spacers, a notched trowel, level, grout float, sponge, buckets and a wet saw or tile cutter.
Saturday Morning: Prep and Plan
Measure the surround carefully and purchase about 10% more tile than your measurements require to account for cuts and mistakes.
Before mixing any mortar, dry-lay your tile. Find the centerline of the fireplace and plan your pattern outward from there. This is especially important with patterned, checkerboard or handmade tile. You want the cuts on either side to look balanced rather than ending up with a tiny sliver of tile along one edge.
Saturday Afternoon: Install the Tile
Mix your thinset according to the manufacturer’s directions. Working in small sections, spread it with the flat side of your trowel and then comb it with the notched side.
Press each tile firmly into place with a slight twisting motion. Use spacers to maintain consistent grout lines and periodically check your work with a level or straightedge.
Complete the surround, clean excess mortar from the tile and grout joints, and allow everything to set overnight.
Sunday: Grout and Finish
Remove the spacers and apply grout with a grout float, working diagonally across the joints. Wipe away excess grout with a damp sponge, being careful not to pull grout from the joints.
Once the grout has cured according to the manufacturer’s instructions, seal it if required. Natural stone may also need sealing.
What’s Trending for Fireplace Tile in 2026?
This is where the project gets fun. Rather than defaulting to basic subway tile, homeowners are increasingly treating the fireplace as a design feature.
Zellige and handmade-look tile: Slightly irregular edges and variations in glaze give the fireplace a collected, European feel.

Micro-checkerboard: Small-scale checker patterns are having a major moment. Instead of stark black and white, try cream and taupe, terracotta and ivory, or two shades of blue.
Hand-painted and Delft-inspired tile: Personalized and artisan tilework is one of 2026’s strongest design directions and works particularly well on a fireplace because you need relatively little material.
Deep, saturated color: Forest green, oxblood, chocolate, navy and earthy terracotta make a fireplace feel intentional rather than simply functional.
Textured and fluted tile: Ribbed surfaces add architectural dimension and can make a simple fireplace feel custom.

The best choice? Pick something that complements the architecture of your home rather than simply following a trend. A fireplace is a natural focal point—so this is one weekend project where taking a small design risk can pay off beautifully.