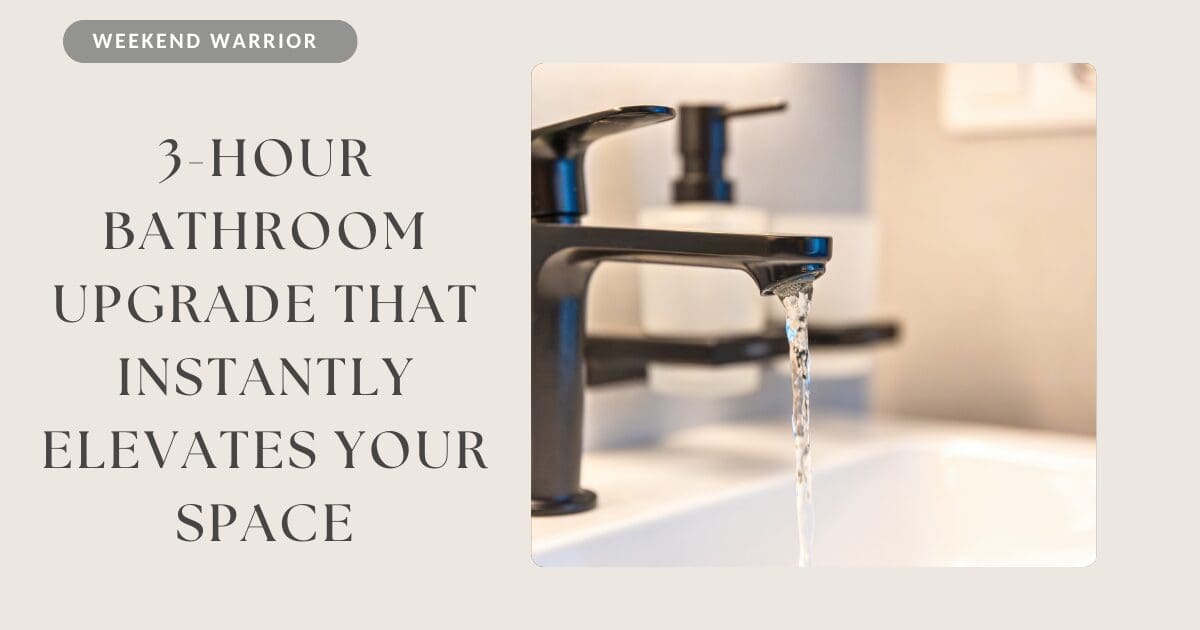
If you’re looking for a quick, high-impact home improvement project, replacing your bathroom faucet is one of the easiest ways to refresh your space. In just a few hours, you can transform the look of your vanity, improve functionality, and even increase your home’s appeal, especially important if you’re preparing to sell or simply want a more polished, updated feel.
Why Replace Your Faucet?
Bathroom faucets see daily use, which means they’re often one of the first fixtures to show wear. Mineral buildup, leaks, or outdated finishes can make the entire bathroom feel tired. Swapping in a new faucet offers an immediate visual upgrade and can improve water efficiency at the same time.
Current trends lean toward matte black, brushed gold, and sleek brushed nickel finishes. Whether your style is modern, transitional, or classic, there’s a faucet that can elevate your space.
What You’ll Need
Before getting started, gather the following tools and materials:
New bathroom faucet (compatible with your sink configuration)
Adjustable wrench
Basin wrench (helpful for tight spaces)
Plumber’s tape
Bucket or towel
Cleaning supplies
Step-by-Step: Replacing Your Bathroom Faucet
Step 1: Turn Off the Water Supply Locate the shut-off valves under your sink and turn them clockwise to stop the water flow. Turn on the faucet to release any remaining pressure and confirm the water is off.
Step 2: Disconnect Water Lines Place a bucket or towel underneath to catch any drips. Using an adjustable wrench, disconnect the hot and cold water supply lines from the faucet.
Step 3: Remove the Old Faucet From underneath the sink, loosen the mounting nuts holding the faucet in place. This is where a basin wrench can be especially useful. Once loosened, lift the old faucet out from above.
Step 4: Clean the Surface Before installing the new faucet, thoroughly clean the sink surface. Remove any old sealant, grime, or mineral buildup to ensure a tight, clean fit.
Step 5: Install the New Faucet Place the new faucet into the mounting holes, ensuring proper alignment. Secure it underneath with the provided hardware. Follow the manufacturer’s instructions carefully here.
Step 6: Reconnect Water Lines Attach the hot and cold water lines to the corresponding valves. Use plumber’s tape if needed to prevent leaks, but avoid overtightening.
Step 7: Test for Leaks Turn the water supply back on slowly and test the faucet. Check all connections for leaks and ensure proper water flow and temperature control.
Pro Tips for a Smooth Project
Match your configuration: Most sinks have either one hole or three. Make sure your faucet matches or includes a deck plate if needed.
Upgrade your drain assembly: Many faucets come with a new drain, installing it at the same time ensures a cohesive look.
Take a photo before disconnecting: It’s helpful to reference how everything was originally connected.
Don’t rush tightening: Over-tightening can damage connections and cause leaks.